Server Provisioning CentOS with Ansible
Robots Building Robots
Introduction #
In my last article, Webmin Configuration on CentOS, I discussed the steps setup a new server complete with Webmin and Percona.
One glance at the article will make it obvious that there are quite a few steps.
Like any good programmer, I am very lazy, so there must be a better way to perform this automatically.
“Most of you are familiar with the virtues of a programmer. There are three, of course: laziness, impatience, and hubris.”
– Larry Wall
Of course, there is, using a process known as server provisioning.
There are many different approaches that can be employed for doing this.
We have found Ansible to be one of the simplest and therefore, most appealing for our purposes.
What’s the Point? #
Before I go and get us too mired in the technical details of automated server provisioning, why are we talking about this?
- Previously I discussed the details involved with setting up a single server.
- Here I’d like to talk about how to automate that procedure.
- Next we will discuss virtualization - how to mimic precisely a production environment, without the hardware.
So here’s the point - Quality Assurance for both our clients and for us as developers.
We can use virtual servers to precisely mimic the production environments that our software will run on later, in real life.
There are several advantages to this, but the main goal is to save time [money], while increasing site reliability.
So this allows us to create predictable environments in which to develop.
Whether we’re building a simple WordPress website, or a beastly complicated Java Web Application like 76insights, we can mock the machine it will run on.
This is great for development, given that our team members each develop on different operating systems.
Also, and more critically, this reduces the number of variables between development and production environments.
Motivation #
Recently we took part in the iWeb Cloud Βeta program in order to help evaluate their new cloud server offering.
This gave us the opportunity to quickly generate and regenerate server nodes.
Became apparent that we needed a mechanism to quickly and easliy generate servers with the software of our choice.
Servers are no longer monolithic entities, but rather dispensible processing agents that simply run an operating system.
Ansible #
The idea from the last article was basically writing down some of the modifications that we usually make when building a new server.
Roughly speaking, the overview of what we did from a new OS install can be listed:
- install webmin
- make sure Apache is installed
- install Percona (replacing MySQL)
- ensure PHP is up-to-date
- tweak the FastCGI configuration
Simple. But the article was much longer than that!
Wouldn’t it be nice if we could just script the steps above and save that script so we could repeat, as needed?
That is precisely what Ansible does for us.
Some of the primary features of Ansible (and the ones that are important for us), are that it’s:
- streamlined and fast
- requires no node agent installation
- functions over SSH
- built on Python
The basic idea with the Ansible approach is to build playbooks.
Simply enough, these playbooks contain plays, which are simply snippets that allow us to script the steps of the deployment tasks.
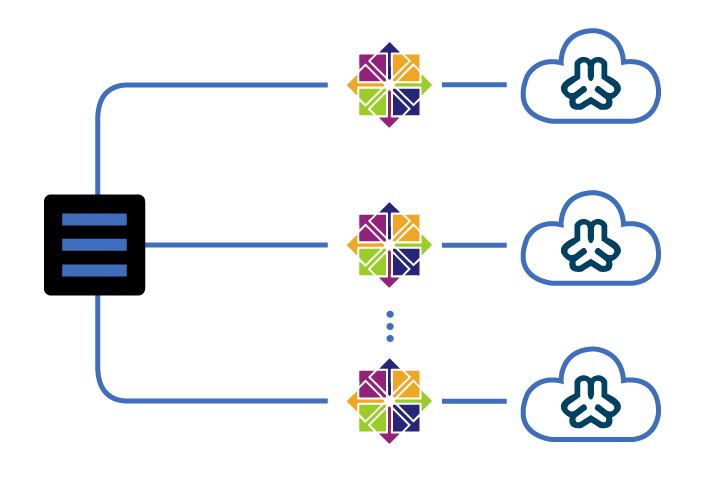
These tasks are then ‘pushed’ onto the target machine(s) et voila, we produce exactly the results we want with a single command.
Our First Playbook #
Basically, in order to create our first playbook, we can literally just start scripting.
The following snippet will actually perform all the steps we need to do to install webmin on a fresh machine:
---
- hosts: all
  user: root
  tasks:
  - name: ensure wget present
    yum: name=wget state=present
  - name: download virtualmin install script
    shell: wget http://software.virtualmin.com/gpl/scripts/install.sh creates=/root/install.sh
  - name: virtualmin install executable
    file: path=/root/install.sh mode=0755
  - name: virtualmin install (possibly ~20 mins)
    shell: ~/install.sh --yes chdir=/root
  - name: Virtualmin Post-Installation Wizard
    pause: prompt="virtualmin post-installation, https://{{ansible_hostname}}.76labs.com:10000"
Another of the attractive features of Ansible is the declarative syntax it uses.
I find the script above very readable and easy to follow.
More Advanced Layout #
.
├── site.yml
├── hosts
└── roles
    ├── iptables
    │   ├── handlers
    │   │   └── main.yml
    │   └── tasks
    │       └── main.yml
    ├── percona
    │   ├── handlers
    │   │   └── main.yml
    │   └── tasks
    │       └── main.yml
    └── webmin
        └── tasks
            └── main.yml
TL;DR #
In conclusion, we have outlined the steps for setting up a high performance webserver. Our server is based on:
Operating System – fresh install of CentOS 6.4
Server Management – Virtualmin
Database – Percona Server
PHP version – PHP 5.4
CGI – FastCGI
Mail – PostFix Mail
There are a couple caveats that I have addressed here that we run into during a standard install. Hopefully these notes might save you a little bit of hair pulling.
This may all be cakes and pies, but stay tuned for my next article when I plan to talk about how to automate this whole installation business with Ansible as a provisioning solution that will save us all the time and hassle of configuring new hardware by hand.